There's a very elegant solution to this. Starting with iTunes version 7, Apple introduced support for multiple iTunes libraries built right into the application. If you hold down the option key while launching iTunes, you'll be prompted with the following dialog box:

The idea here is to create a seperate iTunes library just for the alarm clock application that only contains songs on the internal hard drive. If we click "Create Library..." we can do just this. Just give the library a name:

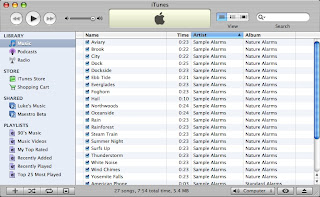
Now you've got an empty iTunes library. Just add any songs you want that are on your built-in hard drive.

After you do this, you can quit iTunes, and relaunch holding down the option key. Then pick your original library (most likely in ~/Music/iTunes/) and you're back to your regular iTunes library.
The final step is simply to instruct Alarm Clock to use this new library that you just created. Quit the Alarm Clock application. Open up your terminal. And type in the following command:
defaults write com.digitallity.alarmclock2 'XMLPath' '/Users/robbie/Music/iTunes (AlarmClock)/iTunes Library.xml'
Replacing the last part of the command with the proper path on your machine. For more information about this tip, see my FAQ page, question number 9.
